


ShopSite Tip – Configuring Ordoro
Ordoro is an inventory management and shipping system which easily integrates into ShopSite with just a few settings. Below we’ll go over screenshots showing you where to enter the settings and which values to use from your store.
Sales Channel Settings
Click on the gear icon in the top Ordoro menu, followed by “Sales Channels” to open the below screen:
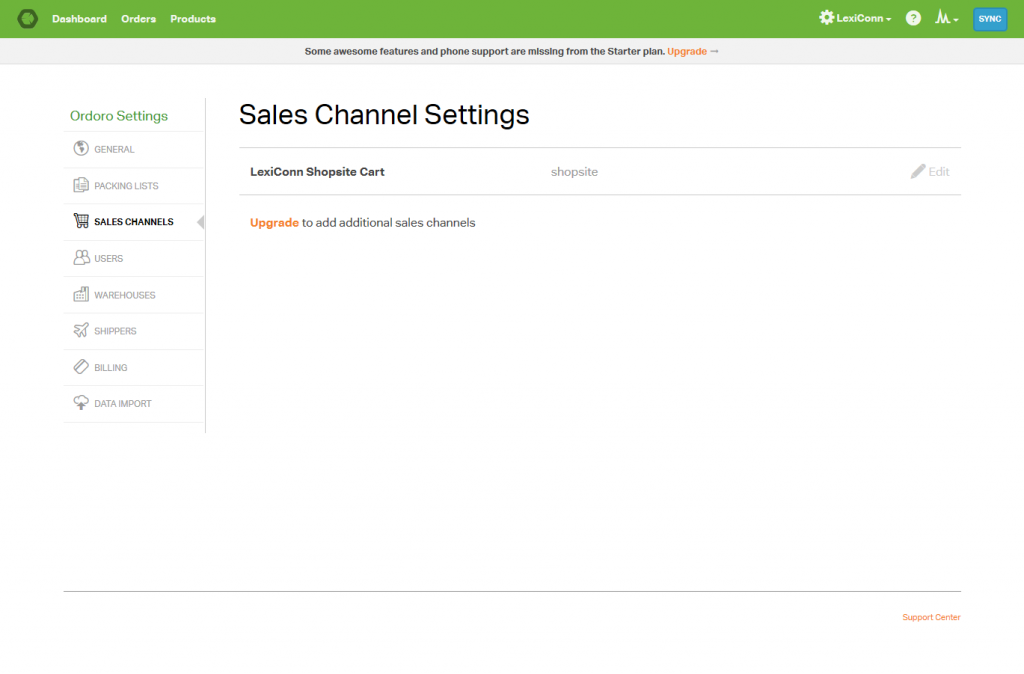
Sales Channels
Edit Your Store Settings
Click “Edit” on the line for your ShopSite store and the following screen will appear:

ShopSite Settings
The Values
Cart Name: You can use anything here, but enter something that will remind you that this is your ShopSite store if you have multiple channels or websites.
Admin URL: This is the Secure URL to your ShopSite backoffice, ending with “/bo”. To get the URL start by logging into your backoffice, then click on Preferences > Hosting Service and copy the “XML Orders Download URL” value, minus the “/db_xml.cgi” part.
For example, if the URL is:
https://www.DOMAIN.com/cgi-DOMAIN/bo/db_xml.cgi
you would use:
https://www.DOMAIN.com/cgi-DOMAIN/bo
Before we continue, we need to determine which login method your store uses. If you use the newer User Accounts feature of ShopSite, where each user has their own username and password, Ordoro will not work for you right away as it does not support the OAuth login system. (But keep reading!)
You can tell which login system you use based on your ShopSite backoffice login screen. If you see the ShopSite logo then you use the new multi user feature. If there is no logo, then you use the older system.
For the old login system you can continue with the these values:
Cart Username: your shopsite username
Cart Password: your shopsite password
If you instead have the new login then Ordoro will not work on its own, but we have an oAuth Bridge Module which will need to be installed before continuing. It’s a free module for LexiConn clients:
https://www.lexiconn.com/ecommerce/shopsite/oauth-bridge-module.html
So you will need to have us install that module before completing the Ordoro setup.
All set? Good, now to use Ordoro with the oAuth module you first need to adjust the Admin URL value you entered above. Change it from ending in “/bo” to ending in “/LexAuth”, like this:
https://www.DOMAIN.com/cgi-DOMAIN/Lexauth
Now continue with these values:
Cart Username: your oAuth Bridge module username
Cart Password: your oAuth Bridge module password
Save & Sync
You’re done! Click the orange Save button to save your settings, then click the blue Sync button in the top-right corner of the screen to run a manual sync. It should sync your orders from ShopSite into Ordoro.
If it fails to sync check the settings to make sure they are correct. If it still fails just let us know what values you are entering and we’ll take a look at your account.
Looking for a web host that understands ecommerce and business hosting?
Check us out today!


